How to Validate and Submit Data
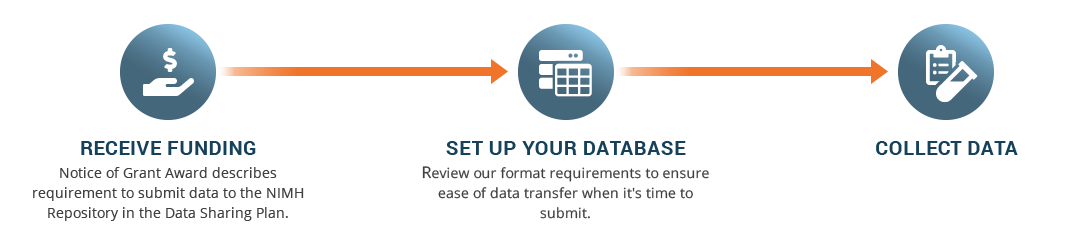
Before You Submit
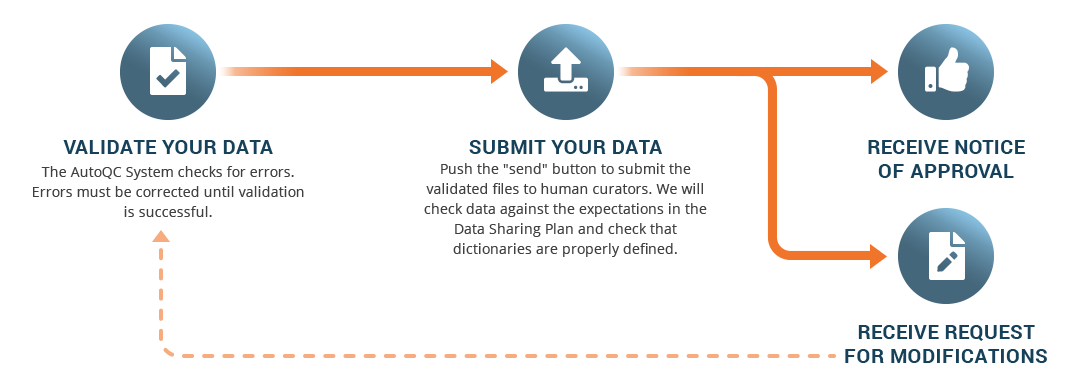
Ready To Submit?
Questions?
Our team of curators is available to train your team on the submission requirements.
Request a training session.
Questions?
Our team of curators is available to train your team on the submission requirements.
Request a training session.